If you’ve ever wanted to build IoT projects or automate tasks without getting lost in complex code, Node-RED is a great place to start. This open-source platform makes it easy for both beginners and professionals to connect devices, APIs, and services using a simple drag-and-drop interface.
At Tech Knowledge, we share practical guides on IoT, automation, and dashboards. In this post, you’ll learn the basics of Node-RED, how to install it, and what makes it so powerful for automation.
What is Node-RED?
Node-RED is a flow-based programming tool originally developed by IBM. Instead of writing long scripts, you create workflows (called “flows”) by wiring together blocks known as nodes.
Here’s a quick example:
- Input node: a sensor or an API that provides data.
- Function node: processes or transforms the data.
- Output node: sends results to a dashboard, email, or database.
👉 If you’re curious about building IoT dashboards, check out our detailed guide: How to Build IoT Dashboards in Grafana.
Key Features of Node-RED
- Visual editor – create workflows by dragging and dropping nodes.
- Large node library – connect APIs, databases, hardware, and cloud services.
- Cross-platform – works on Windows, Linux, macOS, and Raspberry Pi.
- Extensible – thousands of community-contributed nodes are available.
- IoT-friendly – integrates smoothly with MQTT, Modbus, and OPC-UA.
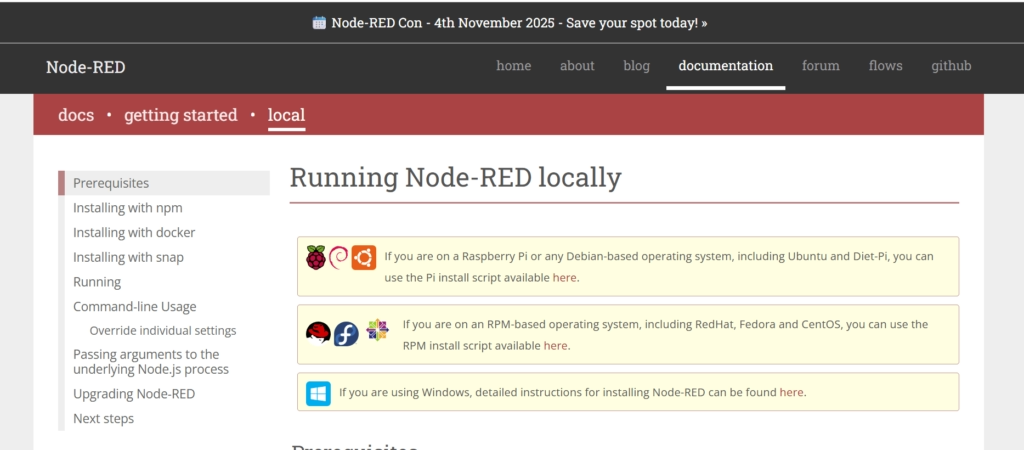
How to Install Node-RED
You can install Node-RED on multiple platforms. Here are the common options:
- Windows/Linux/macOS –
npm install -g --unsafe-perm node-red(run in cmd Prompt) - Raspberry Pi – Node-RED comes pre-installed with Raspberry Pi OS. to update – run:
update-nodejs-and-nodered(cmd) - Docker –
docker run -it -p 1880:1880 --name mynodered nodered/node-red(cmd)
After installation, launch Node-RED by running:
node-red
Then open http://localhost:1880 in your browser.
👉 For a complete Raspberry Pi setup, see our tutorial: Deploy Node-RED on Raspberry Pi.
Creating Your First Flow
- Open the Node-RED editor.
- Drag an Inject node (to simulate input).
- Drag a Debug node (to display output).
- Connect them with a wire.
- Click Deploy and then trigger the inject button.
You’ve just built your first flow! Data moved from input → process → output.
For more examples, explore the official Node-RED Library.
Real-World Use Cases of Node-RED
Home Automation – control smart lights, fans, and IoT sensors.
Industrial IoT – monitor machines with protocols like MQTT and Modbus.
Data Logging – save sensor data in databases such as InfluxDB.
API Integration – connect weather APIs, payment systems, or social media.
Dashboards – build real-time monitoring panels with charts and gauges.
📌 Must-read: How to Monitor Machines with Node-RED & Grafana.
Why Use Node-RED?
- Easy to learn — no heavy coding required.
- Perfect for rapid prototyping of IoT and automation projects.
- Huge community with lots of ready-made flows.
- Runs even on low-cost devices like Raspberry Pi.
Conclusion
Node-RED is more than just a tool — it’s a bridge between coding and automation. Whether you’re working on home projects or industrial IoT systems, it gives you a simple way to connect devices and services. Beginners love it for its simplicity, while experts use it to build complex, production-grade solutions.
👉 Explore more of our Node-RED resources:
- Node-RED Dashboard Tutorial
- Best Node-RED Flows for Automation in 2025
- Connecting Node-RED with MQTT for IoT
And if you want official documentation, visit the Node-RED website.