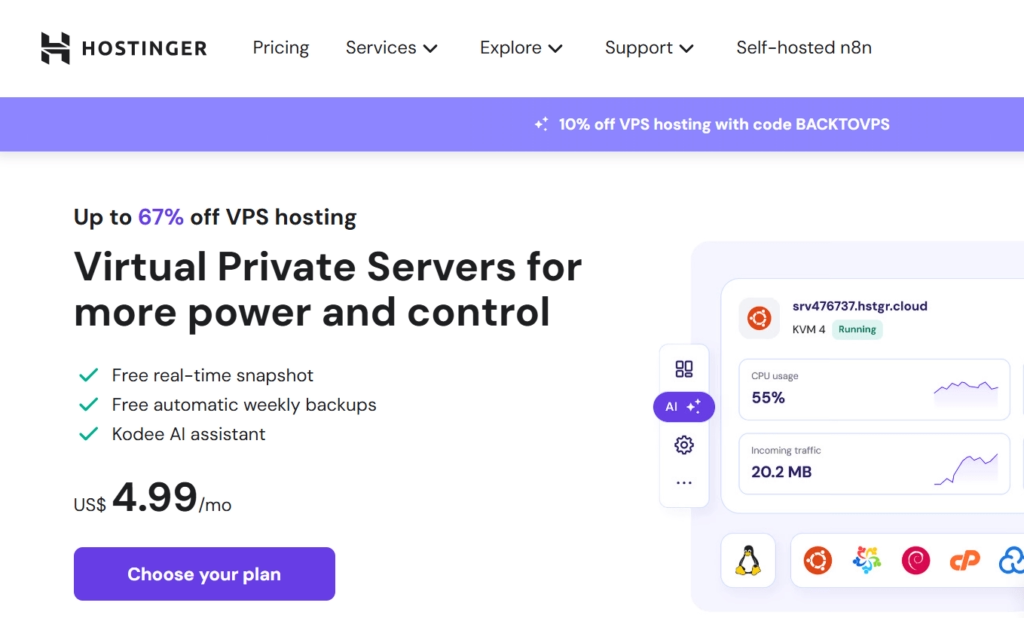
When I first heard about VPS hosting, honestly, it felt a little intimidating. I had always used shared hosting, where everything is ready-made. But when my website traffic started to grow, I realized I needed more control and performance. That’s when I decided to try Hostinger VPS.
I’ll be honest – setting it up the first time felt like a big step. But once I followed the process, it wasn’t scary at all. In fact, I really enjoyed it because I could customize the server just the way I wanted. So if you’re new to VPS and wondering how to set up Hostinger VPS, let me walk you through it step by step.
What is VPS Hosting in Simple Words?
VPS stands for Virtual Private Server. Think of it as the middle ground between shared hosting and a dedicated server. You don’t have to share all resources with others like in shared hosting, and at the same time, you don’t need to spend big money on a dedicated machine.
👉 If you want to understand more about cloud servers, their types, and benefits, check out my detailed post here:
Cloud Server Explained: Types, Examples & Benefits
Step-by-Step: Setting Up Hostinger VPS
1. Choose a VPS Plan
I started with the basic VPS plan at Hostinger. It’s affordable, and for beginners, it has more than enough power to run a website, app, or even small projects.
2. Access hPanel
Hostinger makes it easier with their hPanel dashboard. No complicated navigation – everything is in one place.
3. Pick an Operating System (OS)
You’ll be asked to select an OS for your VPS. Options include:
- Ubuntu (my favorite because it’s lightweight and widely supported)
- Debian
- CentOS
- Windows (if you need a Windows environment)
I went with Ubuntu 22.04 LTS for stability.
4. Set Up SSH Access
This part scared me at first 😅. But it’s actually simple:
- Hostinger gives you an IP, username, and password.
- On my computer, I used this command:
ssh root@your-vps-ip
- Then I entered the password from hPanel. Done! I was inside my VPS.
5. Update Your Server
First thing I always do:
sudo apt update && sudo apt upgrade -y
This ensures the system is secure and up-to-date.
6. Install a Web Server (Optional)
Depending on what you want to run, you can install software. For example, I installed Apache to test:
sudo apt install apache2 -y
Then I opened my VPS IP in the browser, and seeing that default Apache page felt like magic ✨.
Why I Liked Hostinger VPS Setup
- The interface was super beginner-friendly.
- SSH access gave me full control.
- The performance boost was noticeable compared to shared hosting.
I had already tried setting up a server on AWS EC2 before (here’s my step-by-step guide: How to Set Up a Cloud Server on AWS EC2), and honestly, Hostinger felt a bit simpler for beginners who don’t want to go too deep into cloud complexity.
FAQs
Q1. Do I need technical knowledge for Hostinger VPS?
Not much! If you can follow basic steps and commands, you’ll be fine. Hostinger also provides tutorials.
Q2. Can I host multiple websites on Hostinger VPS?
Yes. You can configure it to host several websites if your VPS resources are enough.
Q3. What if I mess up the VPS setup?
Don’t worry – Hostinger lets you reinstall the OS from hPanel and start fresh. I did this once when I broke my server experimenting.
Q4. How is VPS different from shared hosting?
Shared hosting is cheaper but limited. VPS gives you more control, power, and reliability.